Wood is a fantastic canvas for polymer clay, and one I work with frequently. However, properly preparing wood surfaces is crucial for achieving a professional finish that lasts. In this guide, I’ll walk you through the step-by-step process of preparing wood surfaces for covering with polymer clay.
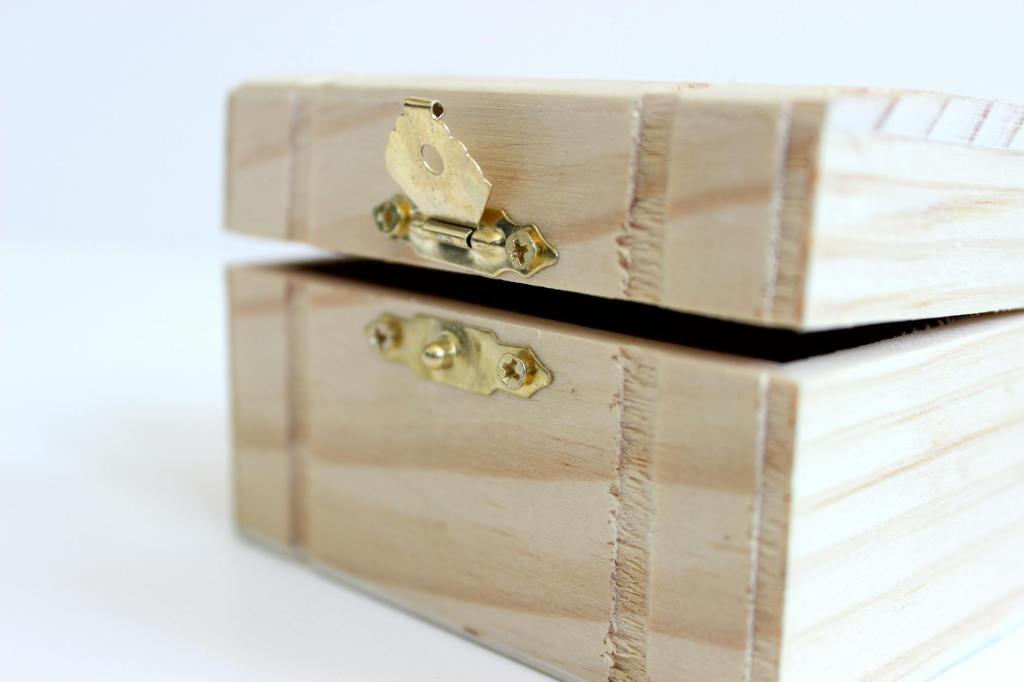
- Select the Right Wood:
Before you begin, choose a smooth, untreated wood surface. Avoid glossy finishes or treated wood, as they may hinder the adhesion of the polymer clay. - Sand the Surface:
Start by lightly sanding the wood surface with fine-grit sandpaper (around 220 grit). Sanding creates a slightly rough texture, providing a better surface for the polymer clay to adhere to. Ensure the surface feels smooth and even. - Clean the Surface:
After sanding, wipe down the wood surface with a damp cloth to remove any dust or debris. Ensure the surface is completely dry before proceeding. - Prime the Wood:
Wood has moisture and if it is not sealed or dried it can expand and crack polymer clay during the curing processes. In my experience the best way to prime wood is to first bake the wood to remove moisture, you can use a low setting like 275 degrees Fahrenheit. Then apply a thin coat of liquid clay adhesive like Sculpey Bake & Bond to adhere the polymer clay to your surface. - Condition the Polymer Clay:
Knead and manipulate the polymer clay in your hands to soften and warm it up. Conditioning the clay makes it easier to work with and helps prevent cracking or crumbling. - Apply the Polymer Clay:
Roll out the polymer clay to the desired thickness using a rolling pin or clay roller. Carefully place the clay over the wood surface, smoothing it out with your fingers to ensure good contact. Trim away any excess clay with a craft knife. - Texture or Shape the Clay:
Add texture or shape to the polymer clay using various tools or techniques before baking. Ensure any additional elements are securely attached to the clay. - Bake the Clay:
Follow the baking instructions provided by the manufacturer of the polymer clay. - Finish as Desired:
Refine the surface of the polymer clay if necessary using sandpaper or polishing tools. Apply a clear sealant or varnish to protect the clay and give it a glossy or matte finish.
Conclusion:
By following these steps, you can effectively prepare wood surfaces for covering with polymer clay, ensuring a durable and visually appealing result for your creative projects. Experiment with different techniques and unleash your imagination to create stunning pieces that showcase the beauty of wood and polymer clay combined.


Leave a comment